Friday, February 25, 2011

No-Bake Chocolate Peanut Butter Oat Bars


Chocolate, peanut butter...I pretty much should have you sold already. The appeal of this recipe could certainly lie solely within in its flavor combinations (admit it, you just thought about how you can locate a Reese's right now), but this recipe's hidden X factor is something that you cannot detect with your taste buds. It's the fact that it requires no baking whatsoever.

No-Bake recipes should really be a part of every cook's recipe arsenal. It's important to be able to know how to make something when you are in a situation sans all of your regular cooking resources, and a lack of an oven is a big one. There's that, and then when it's just too hot out to deal with oven temperatures but you still crave a baked-like sweet, you wont have to leave yourself and your friends unsatisfied. Plus, these bars have oats in them, so they're heart healthy.

I snagged this recipe from Martha Stewart in my research for good go-to no-bake bars. I played around with the recipe a bit and was pretty satisfied. I replaced the wafers with chocolate graham crackers and upped the butter and PB just a wee bit. My experimentation left the bars a bit crumbly, but no less delicious. I have the original recipe below, and play around with yourself if you see fit. Just think, there's no way you can burn them!


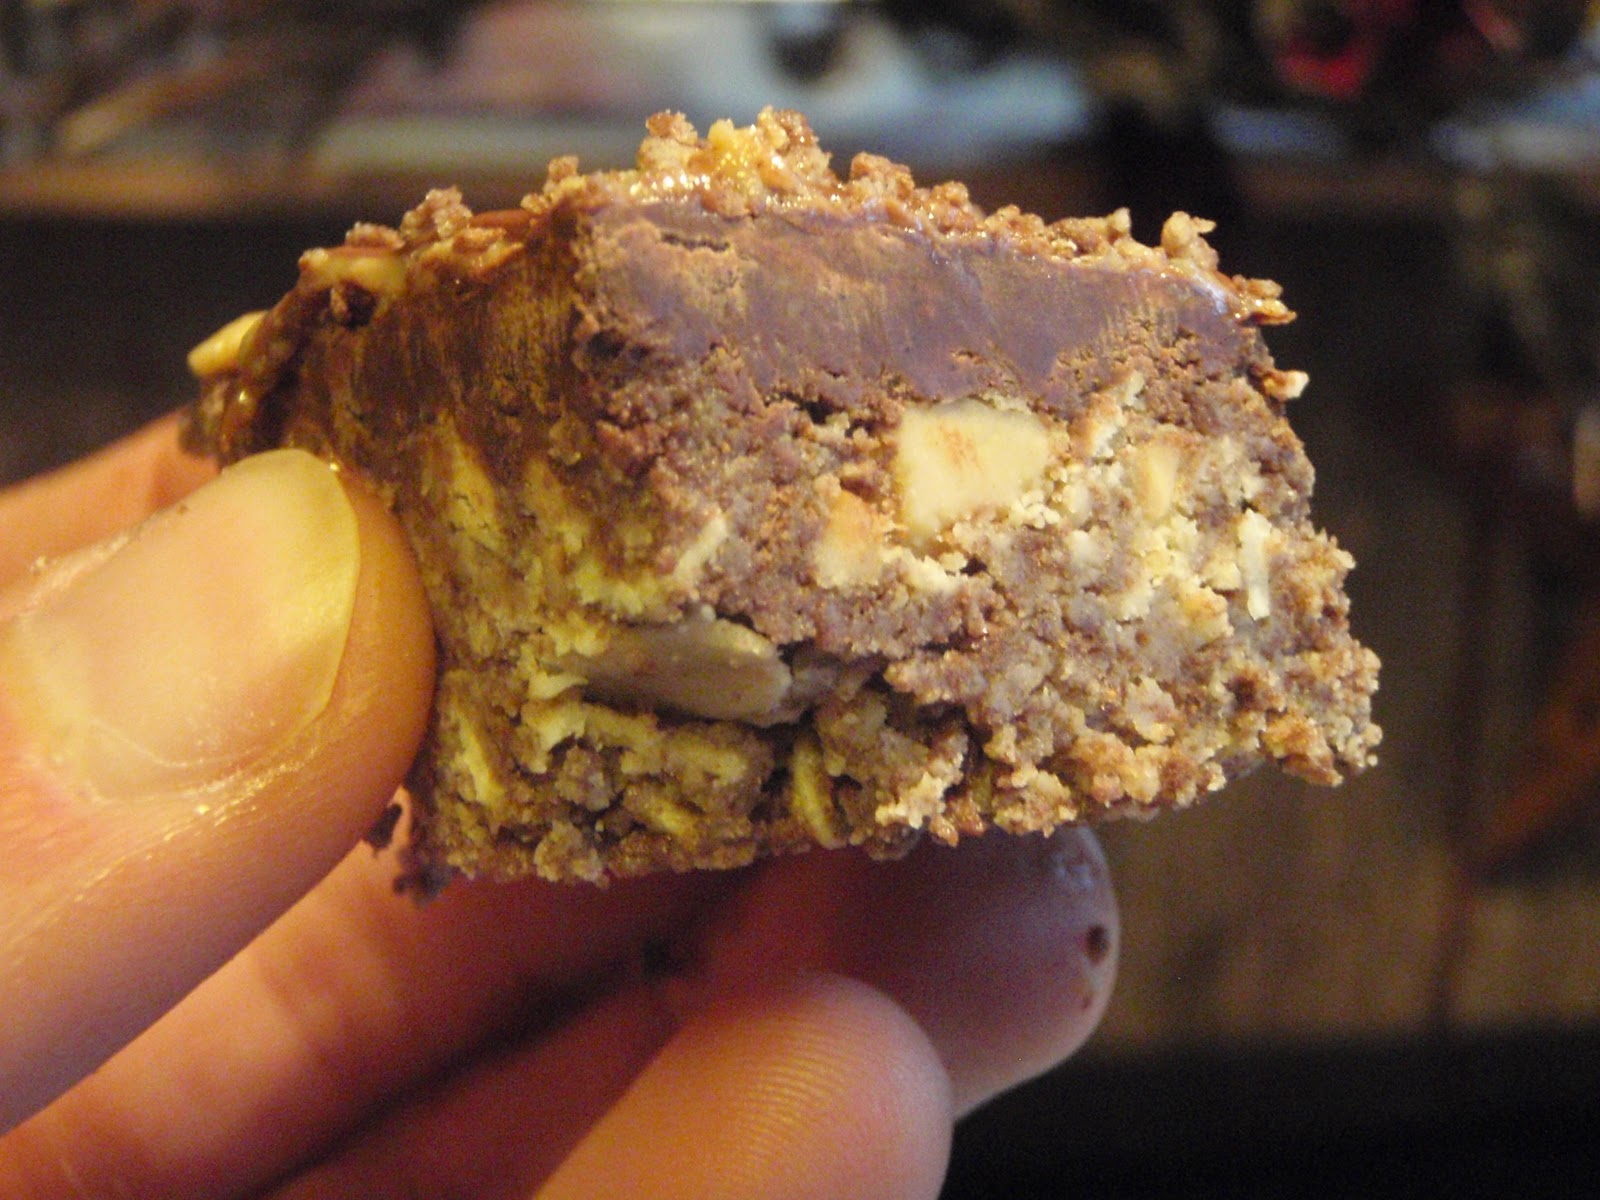
No Bake Chocolate Peanut Butter and Oatmeal Bars
  • · Vegetable oil cooking spray
  • · 9 ounces chocolate wafers (about 40 wafers), finely ground (2 cups)
  • · 1 1/2 cups old-fashioned oats
  • · 1 1/4 cups confectioners' sugar
  • · 1/4 teaspoon coarse salt
  • · 5 ounces (1 stick plus 2 tablespoons) unsalted butter, cut into small pieces
  • · 1 cup chunky peanut butter
  • · 3/4 cup plus 3 tablespoons smooth peanut butter
  • · 10 ounces semisweet chocolate, melted
  • · 1 1/2 ounces milk chocolate, melted

Directions

1. Coat a 9-by-13-inch baking dish with cooking spray. Line with parchment, leaving a 2-inch overhang on the 2 long sides.
2. Combine wafers, oats, sugar, and salt in a large bowl. Melt butter in a medium saucepan over medium heat, then add chunky peanut butter and 3/4 cup smooth peanut butter, whisking until well combined. Add peanut butter mixture to wafer mixture, stirring until combined. Transfer to baking dish, and use the bottom of a measuring cup or an offset spatula to firmly press mixture into an even layer. Refrigerate for 30 minutes.
3. Pour melted semisweet chocolate over chilled mixture and, using an offset spatula, spread into a thin layer that covers the entire surface. Refrigerate until hardened, at least 15 minutes.
4. Heat remaining 3 tablespoons smooth peanut butter in a small saucepan until runny. Drizzle peanut butter over chilled chocolate. Drizzle melted milk chocolate over peanut butter. Refrigerate until hardened, about 15 minutes.
Use parchment to lift out chilled block of bars. Run a sharp knife under hot water, dry well, and cut into 24 squares, wiping knife between cuts. Let bars stand at room temperature for 10 minutes before serving. (Sliced bars can be refrigerated for up to 1 week or frozen for up to 1 month.)


Read more at Marthastewart.com:
No-Bake Chocolate and Peanut Butter Oatmeal Bars - Martha Stewart Recipes

Sunday, February 6, 2011

Nut Butter, Your Way


I'm about to let you in on a little secret that could possibly change your culinary life.  It's one of those secrets that you'll respond to saying "No way, how did I not know that before?", and you'll wonder how and why you have lived so uninformed.  This specifically applies to all of my fellow peanut and nut butter lovers out there; those who shamelessly go at a jar with a spoon and cannot really imagine a day without the tasty nutty delight.  For those of you who fall under that category, I'm about to empower you with a skill that will make your nut butter experiences that much more fulfilling, tasty, and economical to boot.  


It's the simple fact that you can make your own nut butter.  Yes, you, sitting there; you can do it.  With all those years you passed grocery store aisles thinking some far away factory could be the only one to provide you with your nutty fix, you now know it can come from your own home.  

What's even better about making it yourself is that you have full control over both the quality and creativity of the final product.  All of those jars that have ingredients like corn syrup, thickening agents, and extra oil?  There's just no need for them.  On the simplest level, all you really need is your desired nut.  That's it.  You put a whole bunch of them in a food processor, turn it on, and within 5 minutes you'll find yourself hovered over the bowl unable to cease licking the warm, freshly churned nut butter from your spatula (not that I'm speaking from experience or anything...).  Then add what you like.  Salt, honey, coconut, a combination of nuts, brown sugar, vanilla, cinnamon, chocolate, flaxmeal, cayenne pepper...you name it!  And, of course, don't forget to add that dash of gratitude you now have after being awakened to such a gift as freshly homemade nut butter.


Homemade Nut Butter

Okay, a few more helpful facts before you get started:

- I like to use either all roasted nuts or part roasted and part raw.  The roasting process brings out the nuts' natural oils which makes churning easier, and also lends that tasty roasted flavor.  My go-to combination is a 2:1:1 ratio of peanuts to almonds and walnuts. 


- A food processor really is the key tool here.  It's powerful enough to fully demolish the nuts to create that creamy spread for your ideal PB&J.  You may be able to use a blender, but make sure it's a quality one that packs a lot of punch.  Don't be deterred if you don't have a food processor - you can certainly test it in your blender and see how it goes.  In my opinion a food processor is an absolutely worthwhile purchase with all of the other applications you can use it for (pesto! hummus! bread dough! frosting! I could go on!) Or, go bug a friend who knows all of this and therefore has one.  

- Be patient with the process.  Don't freak out after 2 minutes and your nut butter looks dry and chunky.  Have the machine running for at least five full minutes and you'll see the transformation unfold.  I usually like to watch the bowl like a small broadway show; the thrilling plot of how the big mass of chopped nuts all of a sudden starts swirling around the bowl as it surrenders to become a silky spread.  You could also do a chore in the meantime.  Personally I've come to like hula-hooping and watching it churn simultaneously.

- Store the nut butter in a tightly covered tupperware container in the fridge.  The natural oils will keep better in there than on a shelf.

Ingredients:

- Around 4 cups of your favorite nut or combination of nuts.  Use more if you want more.  Use less if you want less.

- Any additional flavors or spices you feel like eating with your nut butter


Method:

- Place nuts in food processor

- Turn food processor on

- Wait five minutes.  (if you feel the urge to scrape down the sides with a spatula, go ahead)

- Enjoy watching the churning process, or go do your 5 minute chore, or do both at the same time

- Open food processor and smell the warm nuttiness wafting into your nose.  Don't resist tasting.

- Add your other ingredients if applicable (a pinch of salt does wonders at the very least)

- Mix them all together

- Taste again

- And again

- And again

- And again...


A perfect pair.  Test out your next batch of Banana Mash with your new nut butter.  
You wont turn back!