1) Fill a shot glass half way with Jameson Irish Whiskey.
2) Top the shot with Bailey's Irish Cream.
3) Fill a pint glass with Guinness.
4) Drop the full shot into the pint, shot glass and all.
5) Drink with vigorous fervor until you see the bottom of the glass.
6) Bombs away.
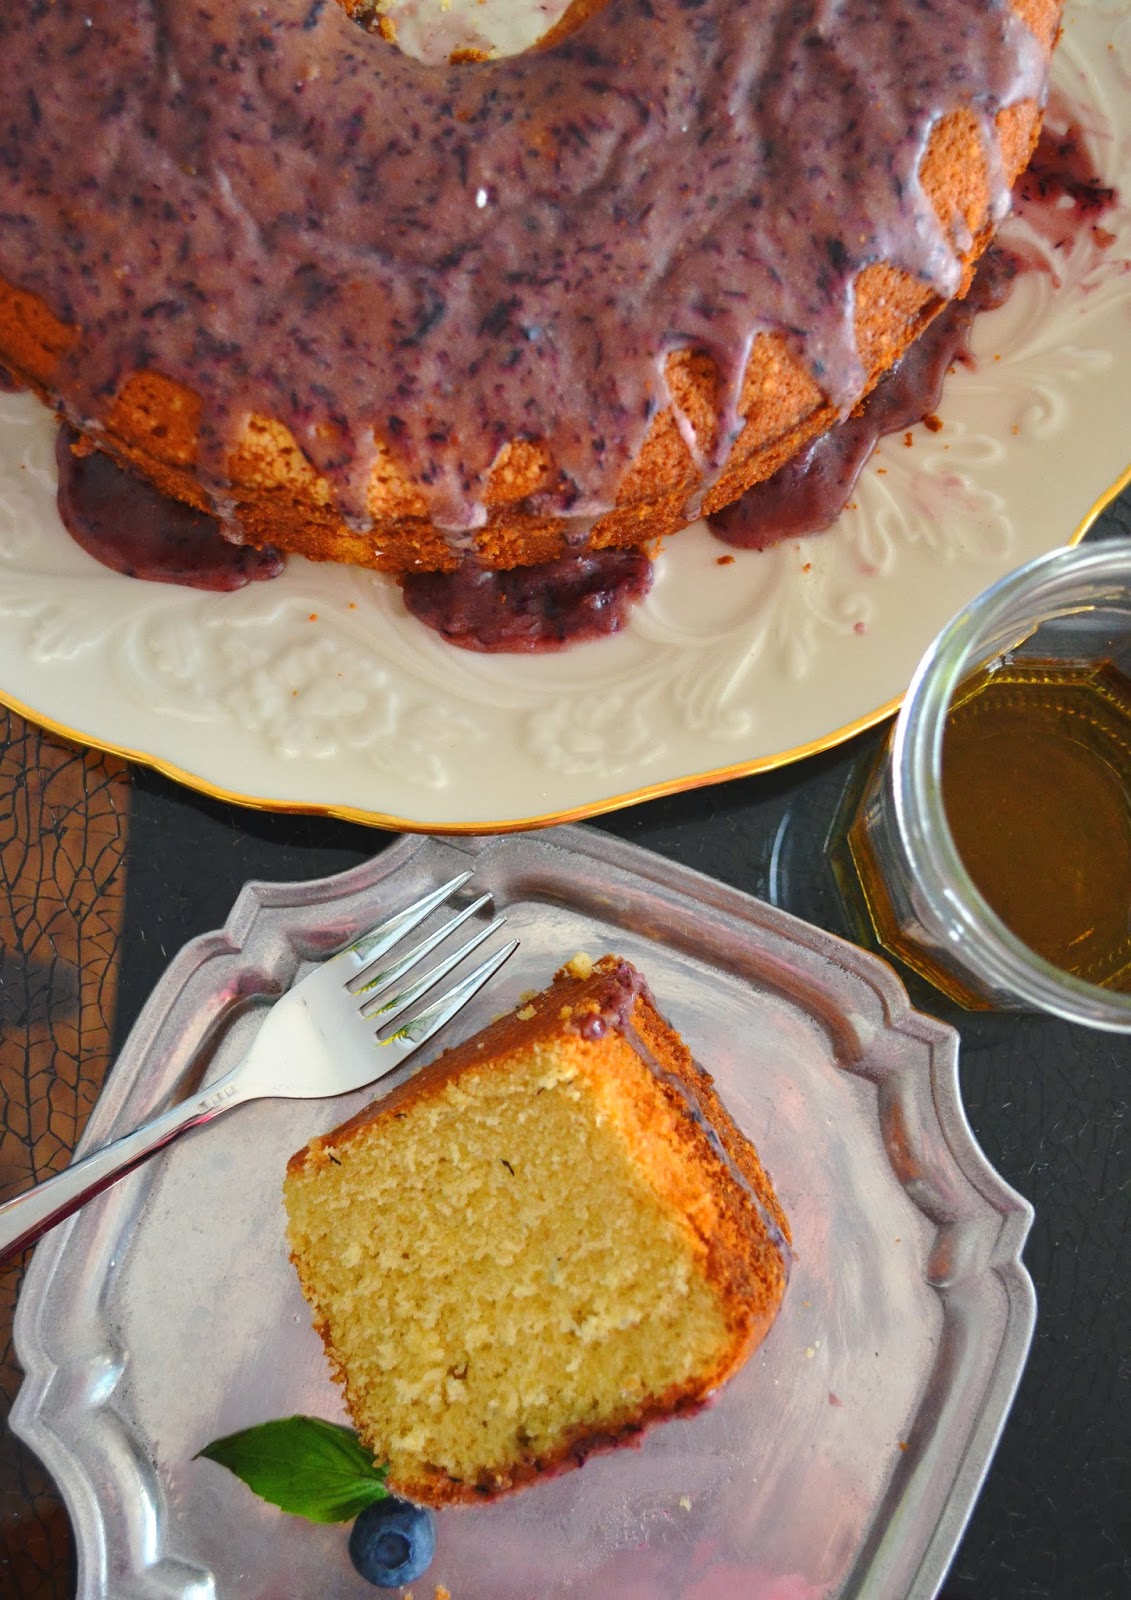
This past weekend was full of surprises and excitement for my family. What better way to celebrate? With Irish Car Bombs was the obvious answer (a newly growing tradition in my family) but I needed to up the ante. Irish Car Bombs in cake form? Why yes, of course. Because if you can combine booze + sugar + pastry in the same package for a party, you're going to have success.
I spent the afternoon in the kitchen recreating every part of an Irish Car Bomb into a sultry, sweet treat. Guinness was going into both chocolate cake and chocolate sauce. Whiskey found a new friend in salted caramel. Bailey's saluted to it's best performance yet in the perfected whipped cream topping. The Dream Team was forming. If you are ever looking for a fun challenge - start thinking of ways you can turn booze into desserts. You'll be entertained for the whole afternoon.
Irish Car Bomb Celebration Cake
Guinness Stout
Chocolate Cake:
Ingredients
1 cup Guinness stout
1 cup unsalted butter, at room temperature
¾ cup Dutch-process cocoa powder
2 cups all-purpose flour
2 cups granulated sugar
1½ teaspoons baking soda
¾ teaspoons salt
2 eggs
2/3 cup sour cream
Directions
Preheat oven to 350 degrees F. Grease a 9x13 pan with nonstick spray.
Bring the Guinness and butter to a simmer in a heavy, medium saucepan
over medium heat. Add the cocoa powder and whisk until the mixture is smooth. Cool
slightly.
Whisk the flour, sugar, baking soda and salt in a large bowl to
combine.
Using an electric mixer, beat the eggs and sour cream on medium speed
until combined. Add the Guinness-chocolate mixture to the egg mixture and beat
just to combine.
Reduce the speed to low, add the flour mixture and beat briefly. Using
a rubber spatula, fold the batter until completely combined. Pour batter in
cake pan.
Bake until a thin knife inserted into the center comes out clean, about
30 minutes.
Cool the cake in the pan.
Guinness Chocolate Sauce:
Ingredients
1 cup Guinness
1 1/2 cups sugar
1 cup cocoa powder
1/8 teaspoon salt
Directions
Bring everything to a boil, reduce the heat and simmer to thicken,
about 5 minutes.
Let cool and enjoy!
Salted Whiskey Caramel Sauce:
Ingredients
1 1/2 cup Brown Sugar
3/4 stick Butter (6 Tablespoons)
3/4 cup heavy cream
2-4 Tablespoons Irish whiskey (to taste)
Generous pinch of salt
Directions
Mix all ingredients in a medium saucepan over medium-low to medium
heat. Cook while whisking gently for 5 to 7 minutes, until thicker. Turn off
heat. Serve warm or refrigerate until cold.
If sauce is thin, just continue cooking for a few more minutes.
Bailey’s Whipped Cream:
Ingredients
1 cup cold heavy whipping cream
¼ cup powdered sugar
1-3 Tablespoons Bailey’s Irish cream
Directions
In a medium bowl, whisk heavy cream until cream just starts to thicken. Add sugar and Bailey’s (to taste) and whisk
until soft peaks form.
Serve chilled.
To Serve:
Cut squares of cake and place on a plate. Generously drizzle both sauces over the cake and top with a dollop of whipped cream.
Serve, swoon, celebrate.